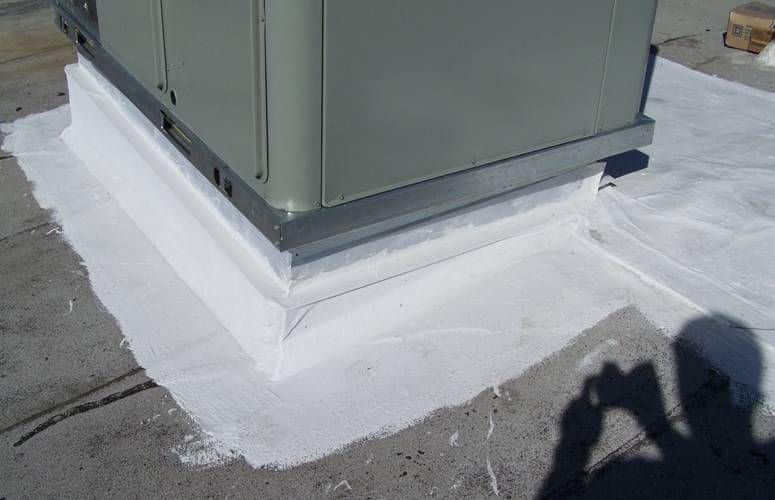
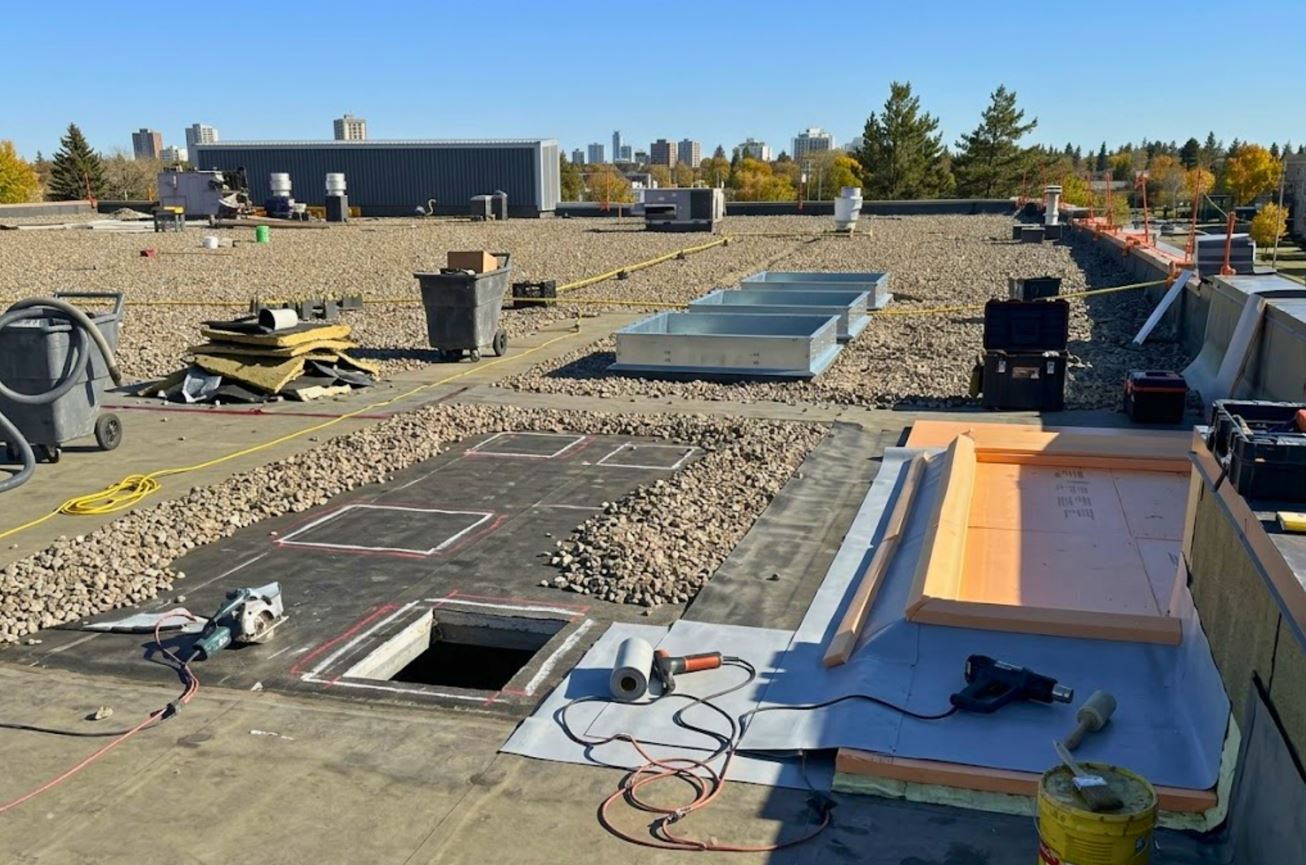
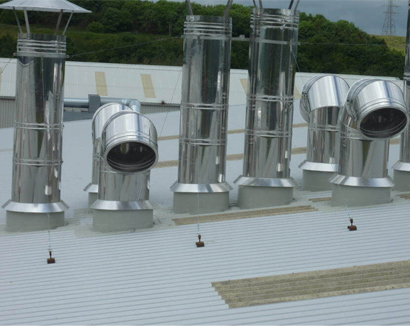
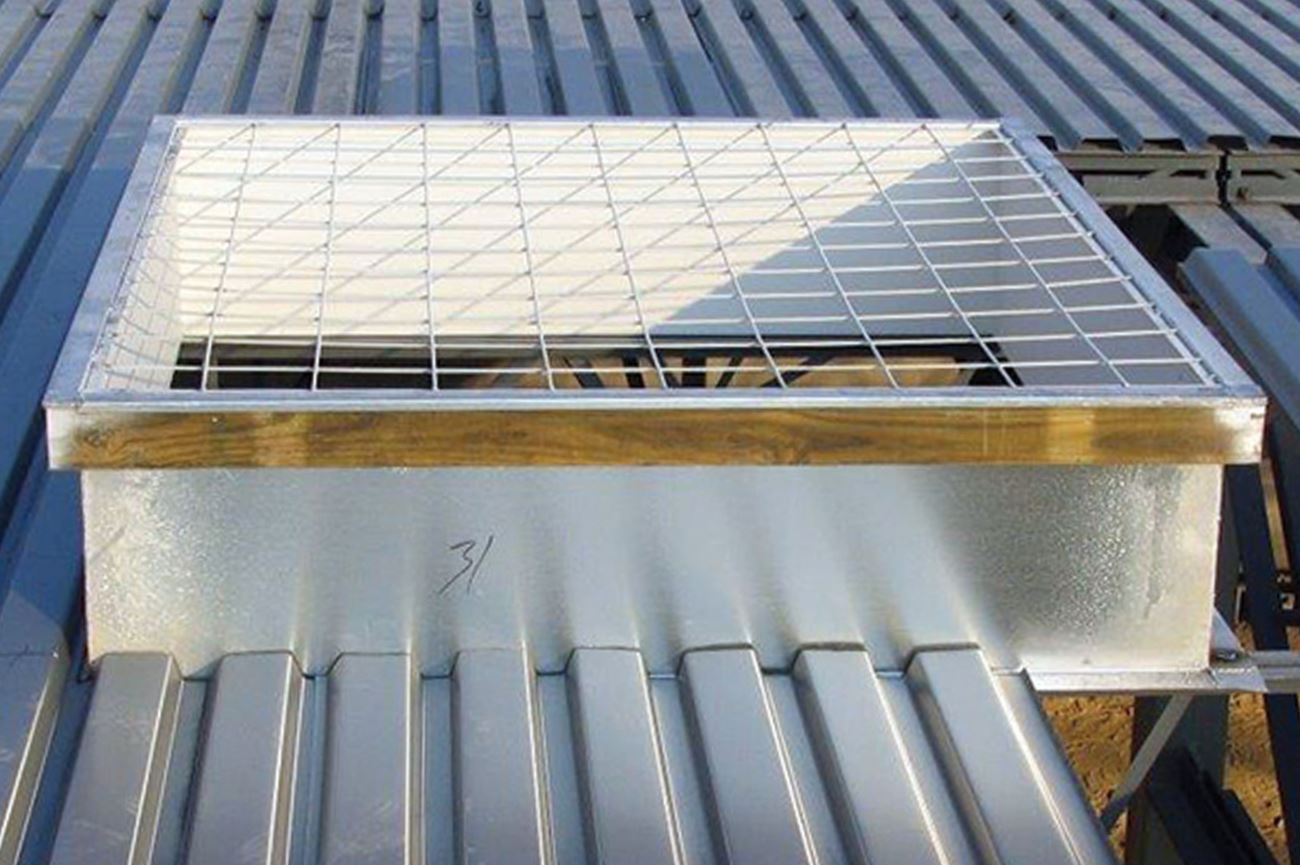
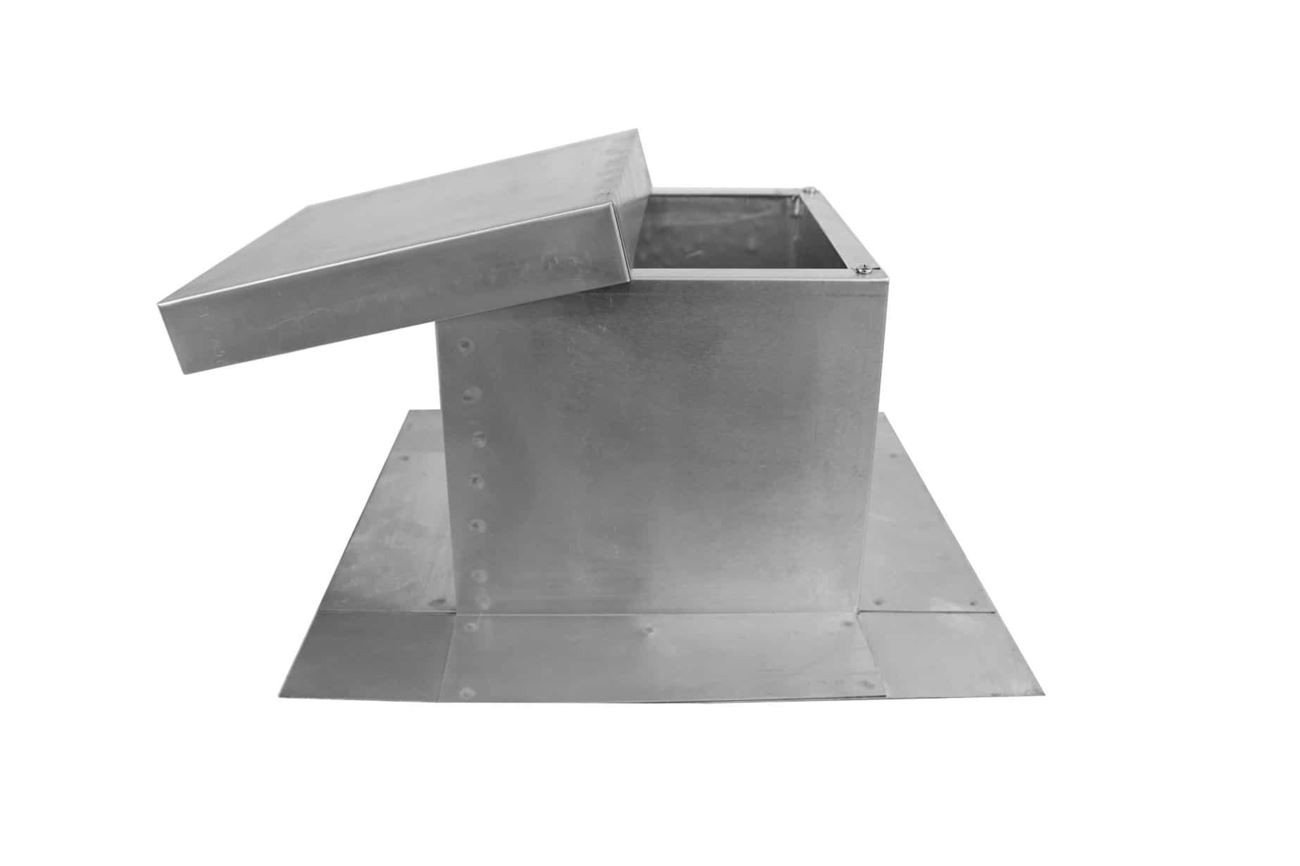
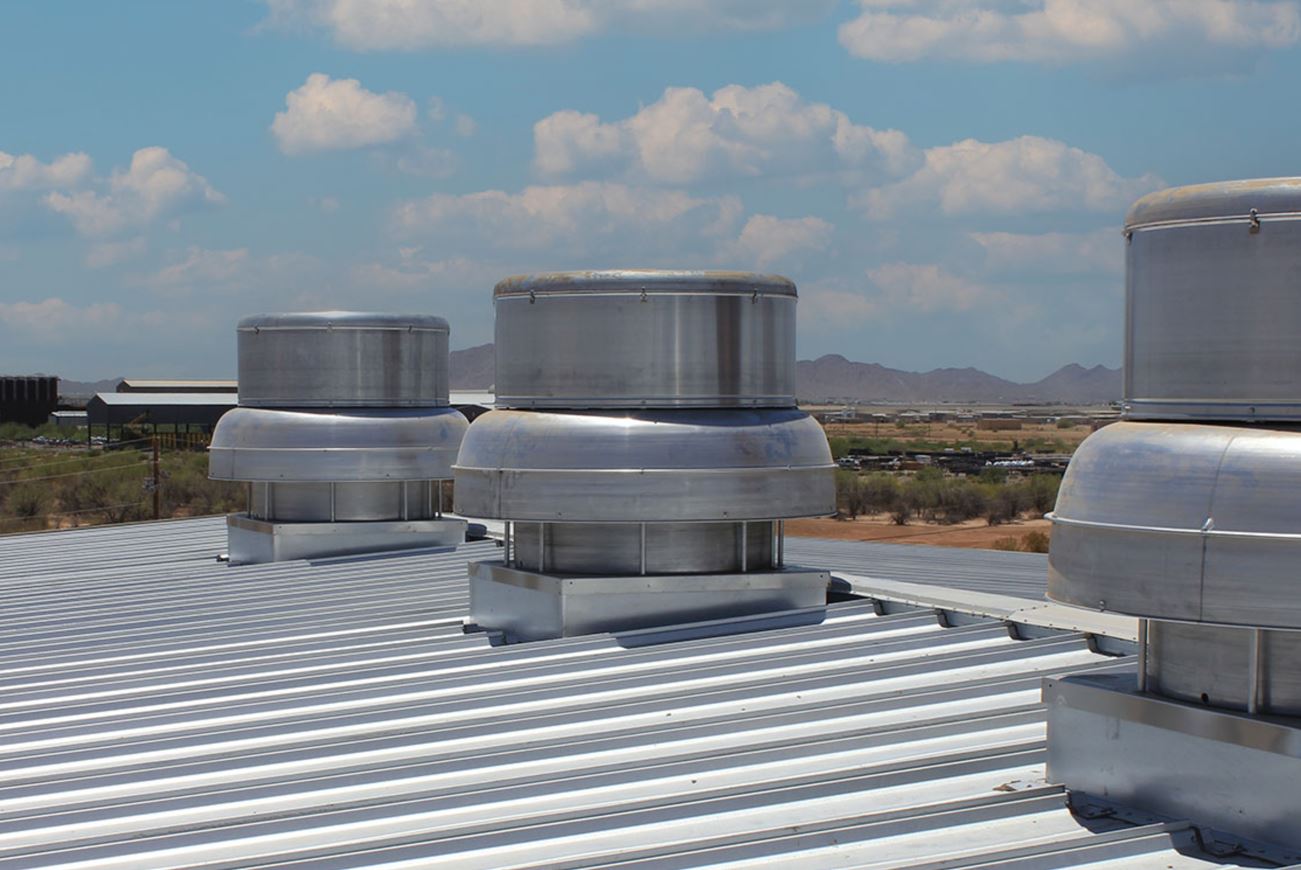
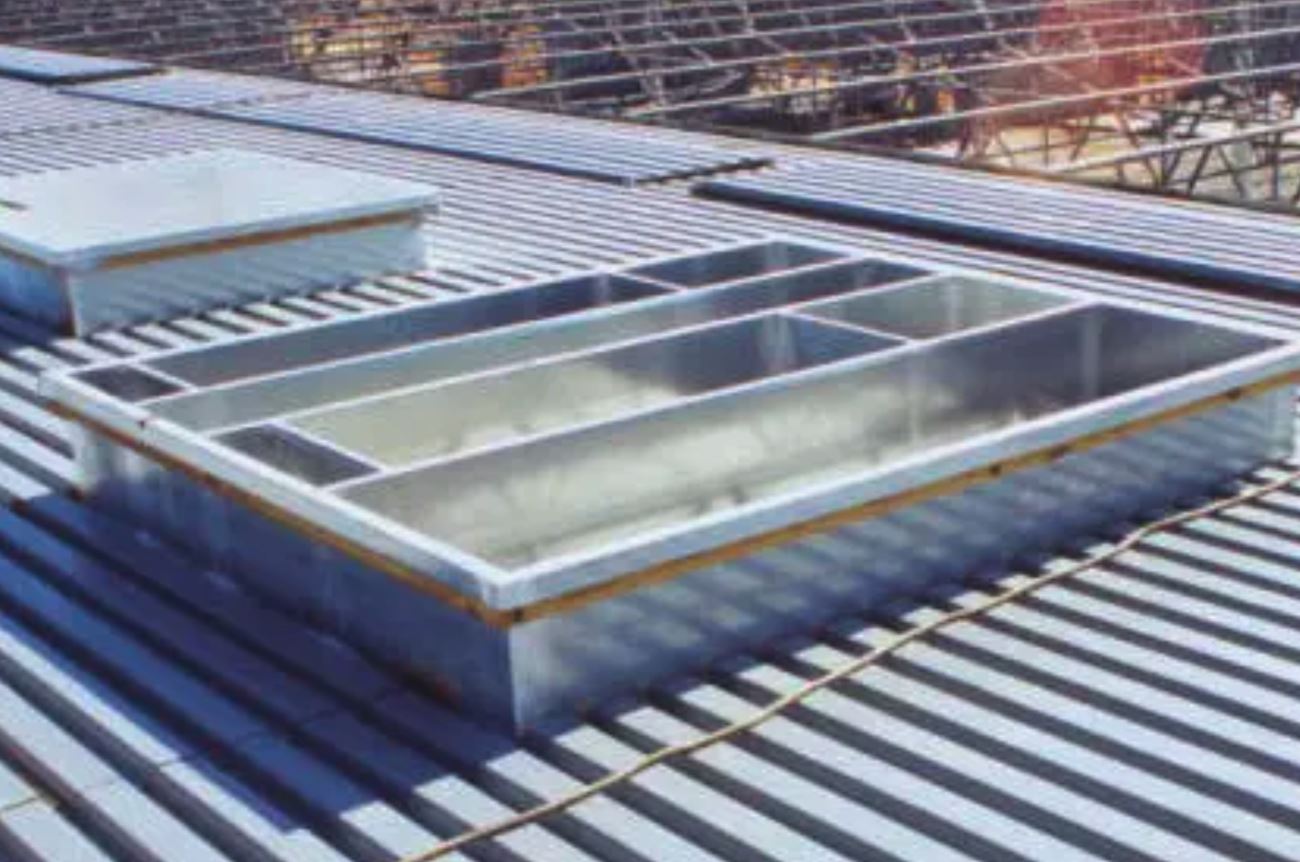
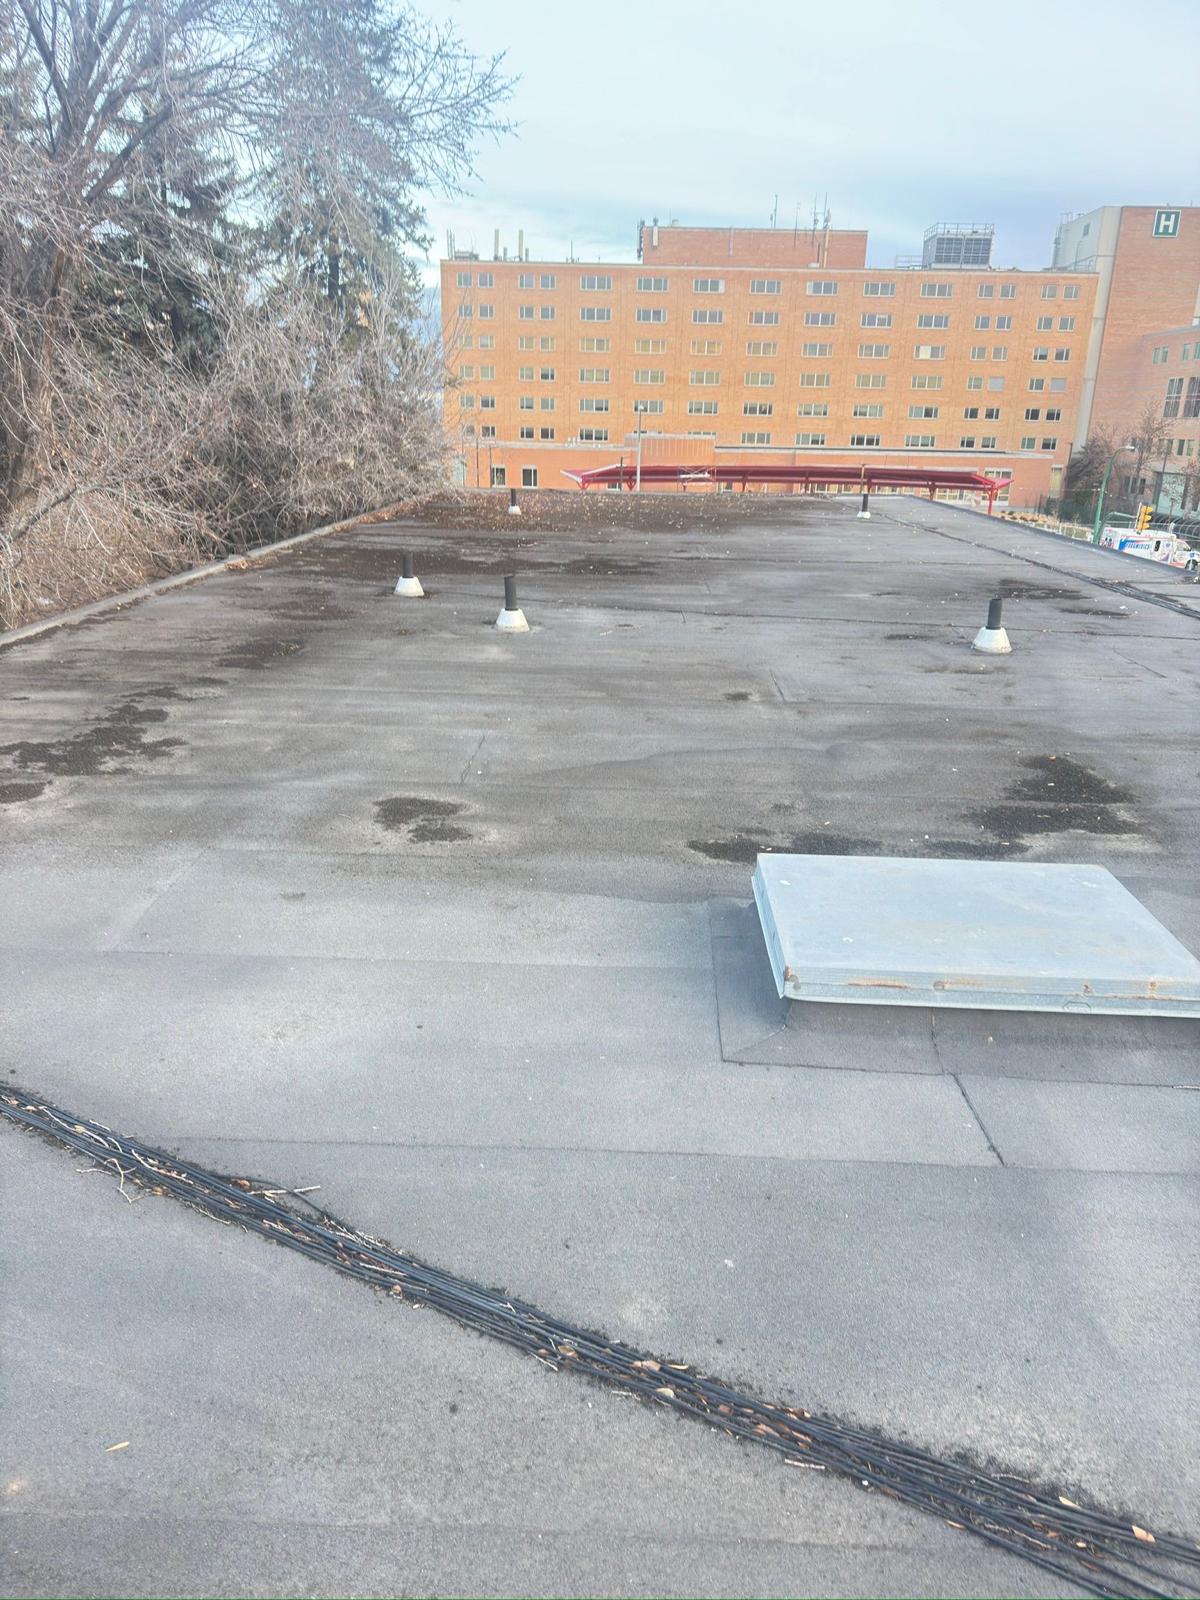
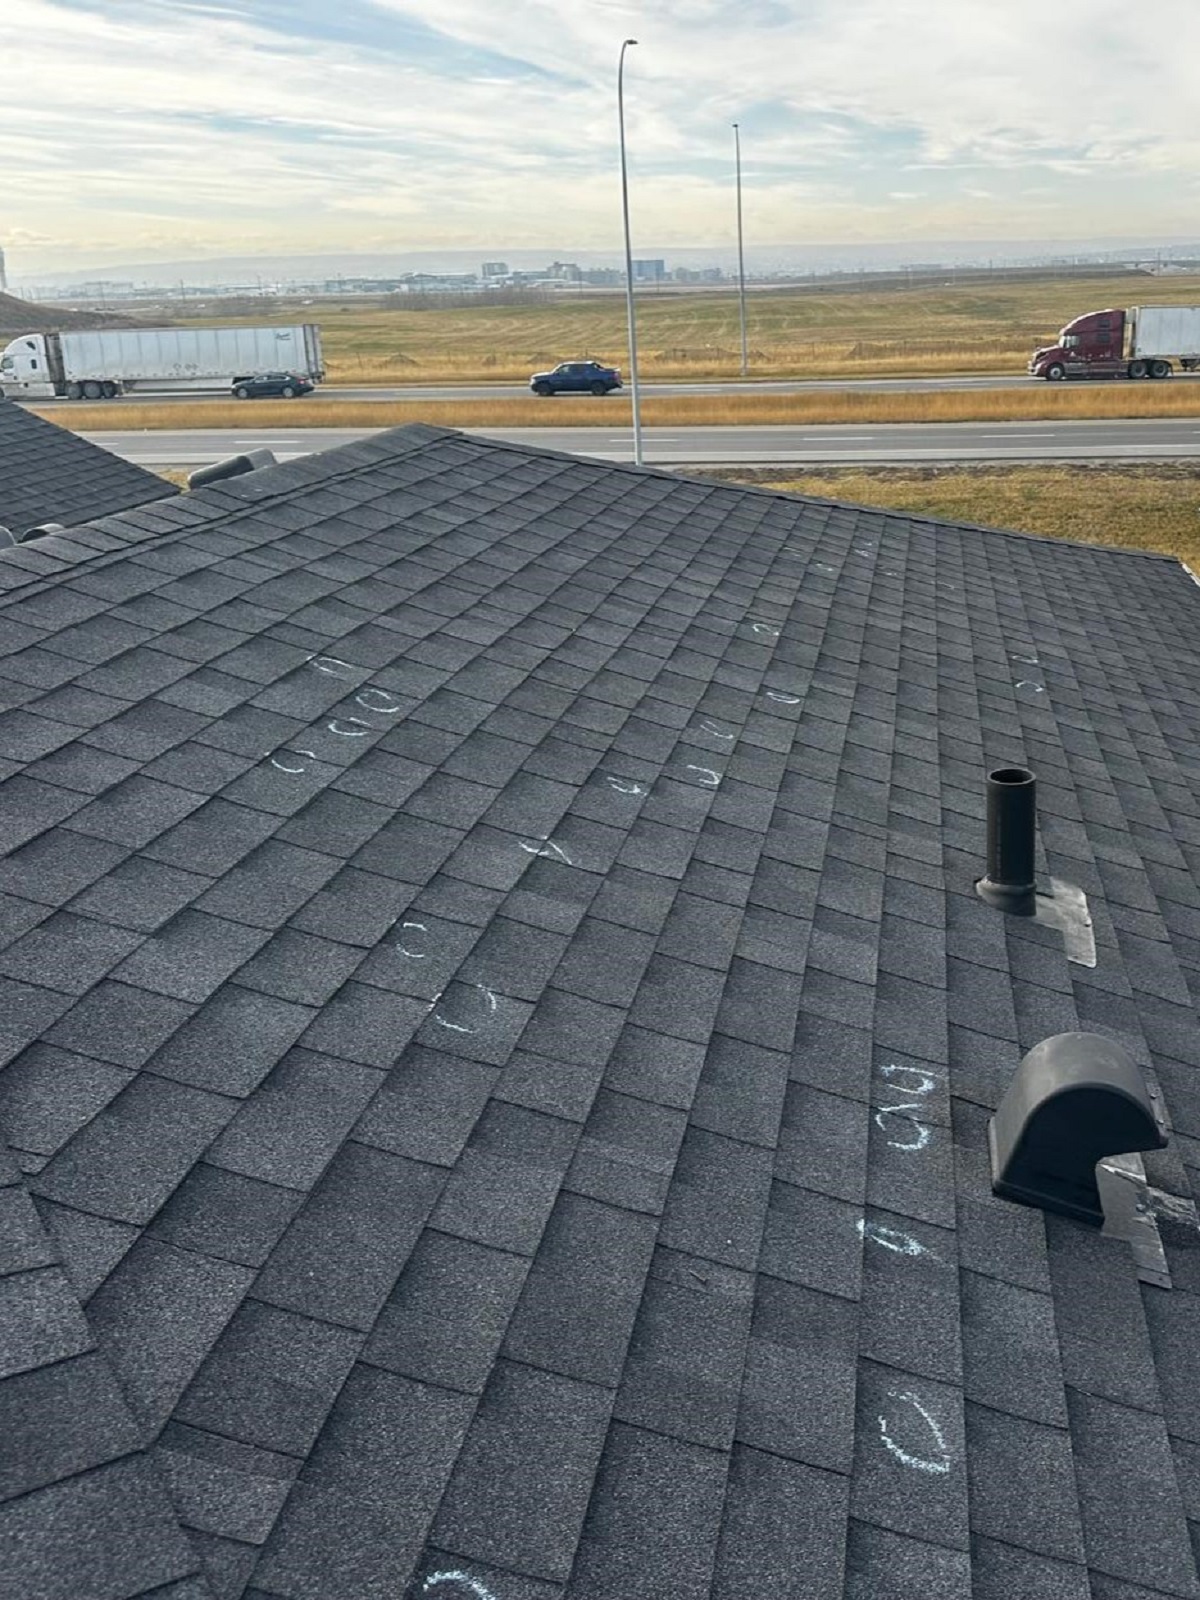
Commercial roof penetration installation is the detailed work of cutting, framing, and sealing every opening a roof needs, and it is where a sound roof is most easily compromised. Any time a pipe, vent, conduit, or piece of rooftop equipment passes through the membrane, that opening becomes a potential leak point unless it is detailed correctly.
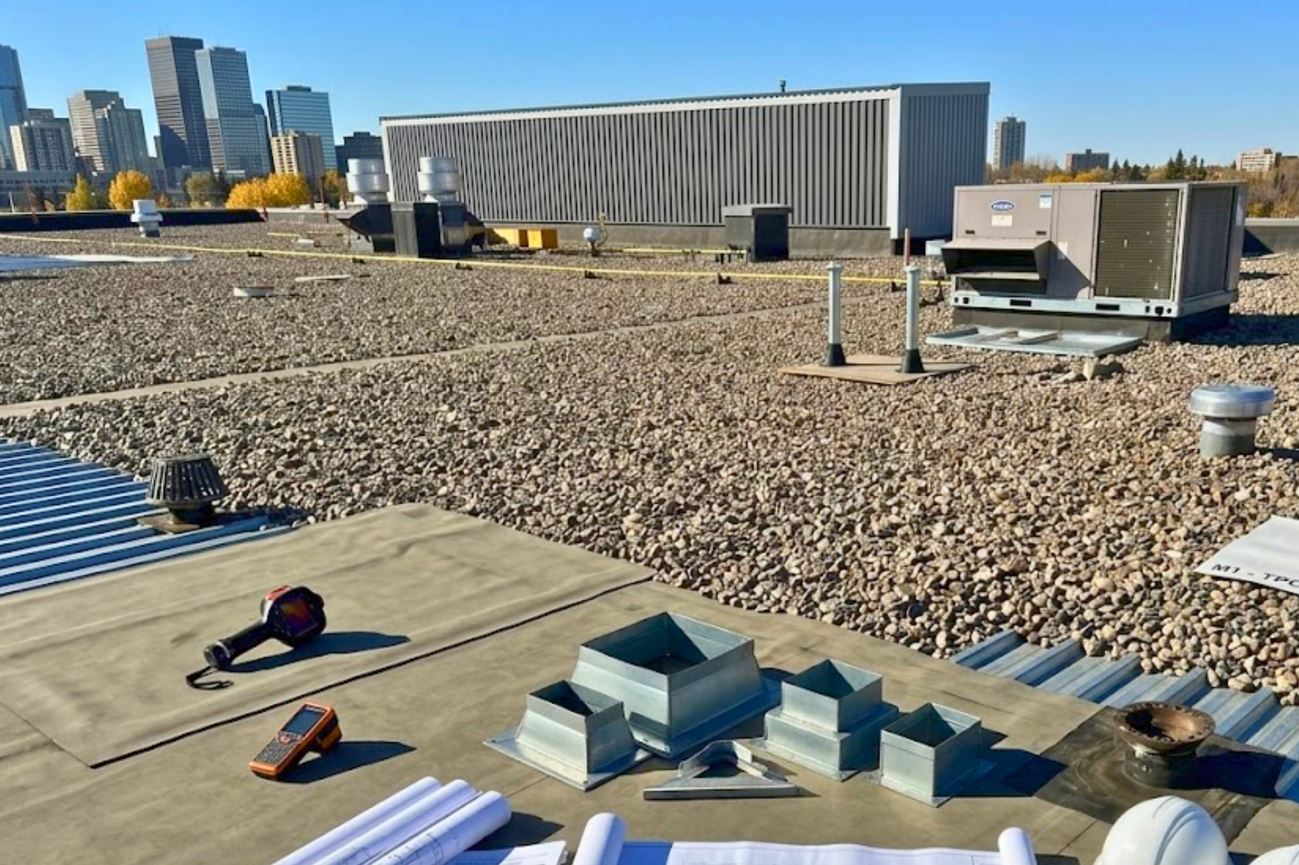
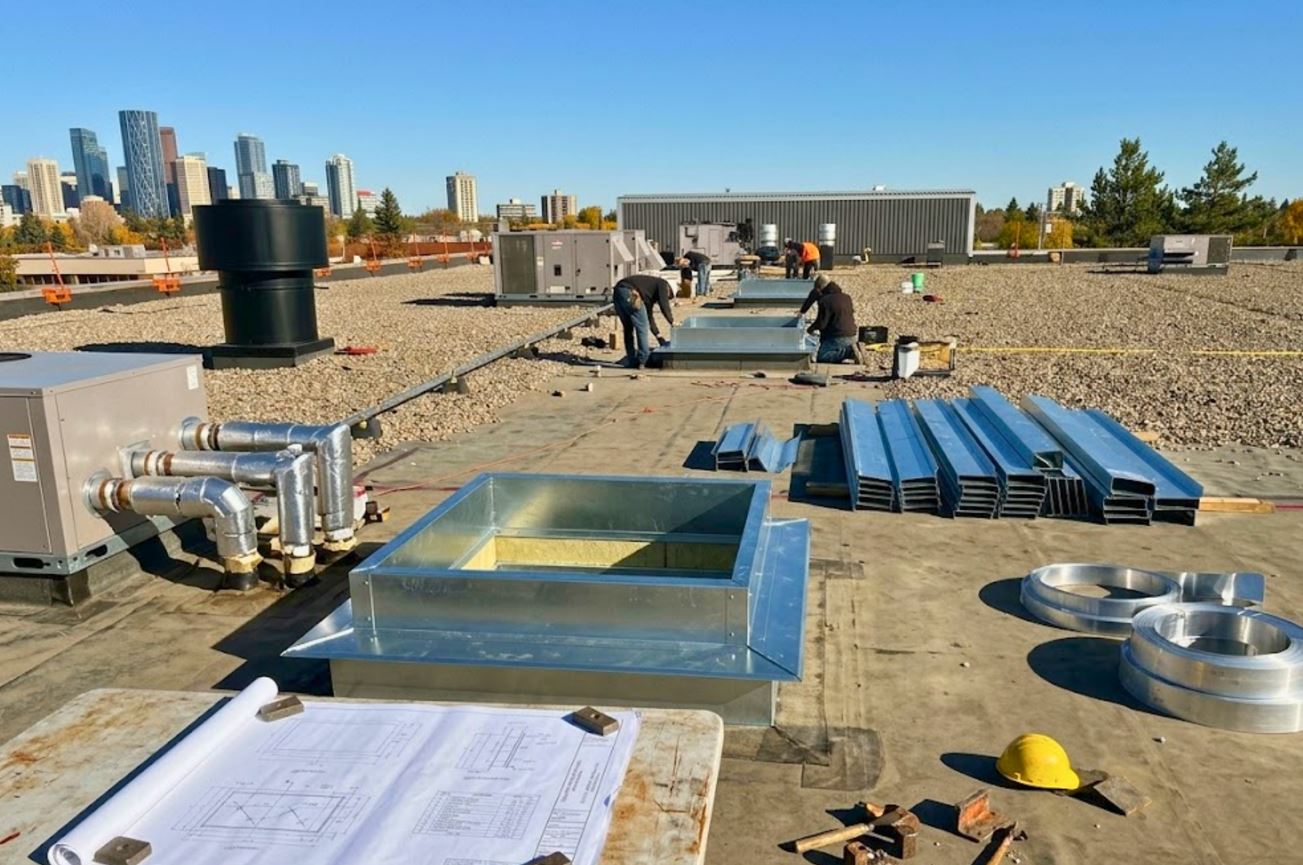
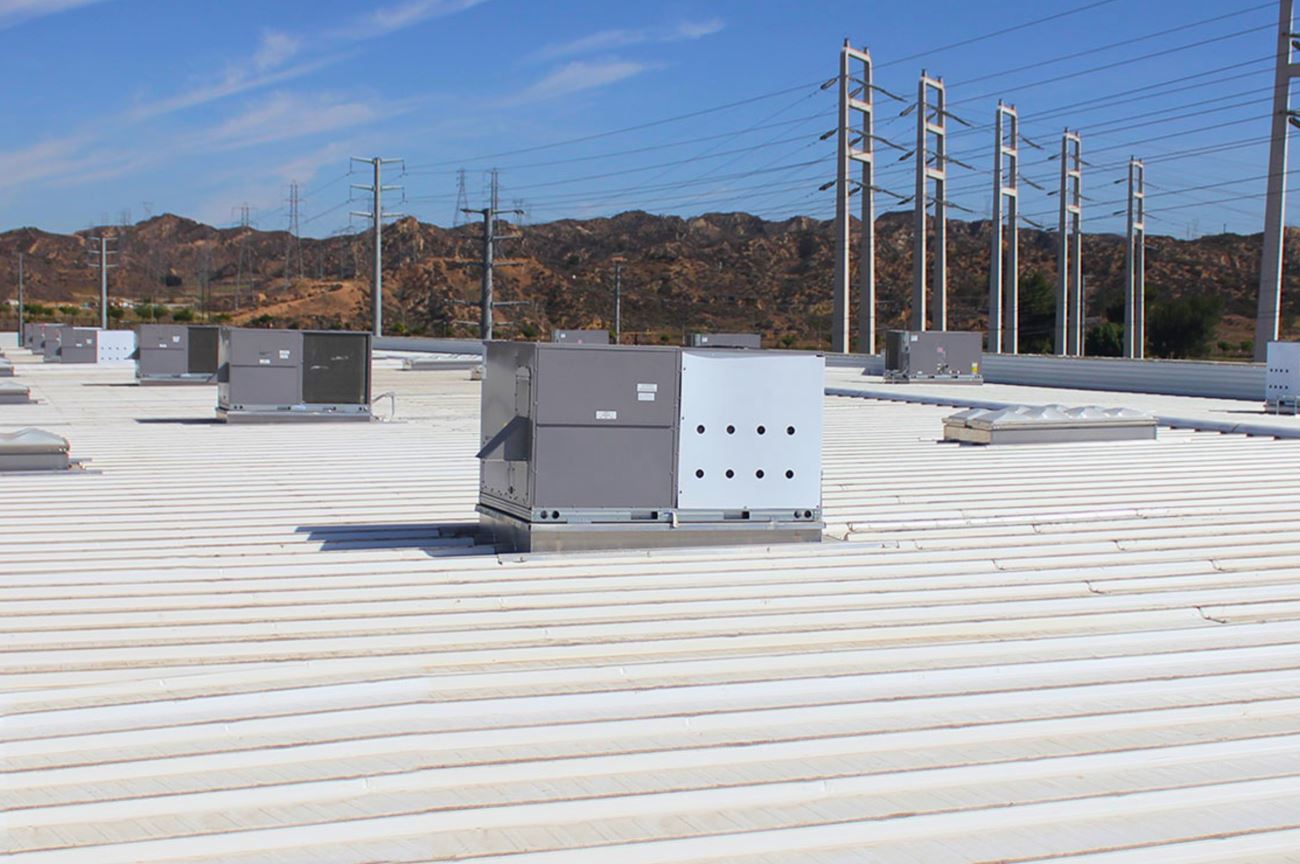
Markit Roofing installs penetrations and equipment curbs on commercial and industrial roofs across Calgary and Edmonton, ensuring each new opening is framed, flashed, and sealed to the same standards as the roof around it. Whether you are adding an HVAC unit, running new vents or conduit, mounting rooftop equipment, or sealing an existing penetration that has started to fail, we handle the curb framing, membrane termination, boot and flashing detailing, and final weatherproofing as one properly integrated job.
Done well, a penetration disappears into the roof and never troubles you again. Done carelessly, it becomes the exact spot where water finds its way in months later, so our crews treat these transitions as the critical details they are, protecting both the roof’s performance and its warranty.